Socket welding of POLYMELT PP-R & PP-RCT plastic pipes and fittings using a handheld welder

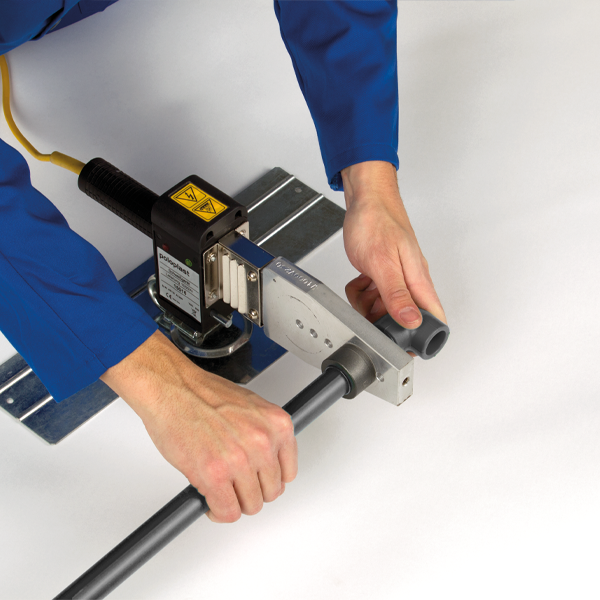

- Ensure that the welding machine is furnished with suitable welding implements coated with Teflon. Avoid utilizing pliers or any sharp tools that may cause damage to the Teflon coating during assembly; instead, employ an appropriate hexagonal wrench.
- Activate the welding apparatus.
- Before commencing welding, verify the welding temperature using either a thermometer or a temperature control pen.
- Ensure precise cutting of pipe ends. Employ suitable pipe shears or a pipe cutter for this task. It is essential to maintain cleanliness of pipes, fittings, and welding implements. If required, use a lint-free cloth and PP/PE cleaner (ethanol-based) for cleansing.
- Swiftly and axially position the fitting and pipe onto the corresponding welding implements without any twisting. Heat the components without applying pressure, adhering to the provided guidelines.
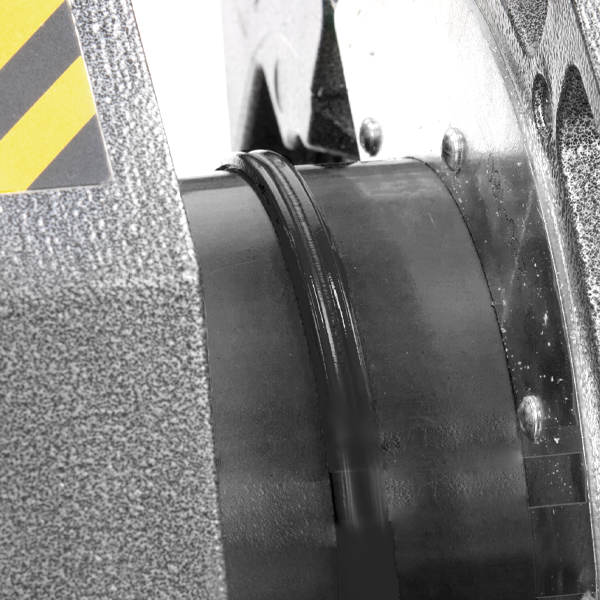
- Once the prescribed heating duration is achieved, promptly remove the fitting and pipe from the heating element and connect them immediately without twisting, ensuring insertion to the appropriate depth or markings. Line markings on both fittings and pipes aid in ensuring correct alignment.
- Adhere to the prescribed cooling period for the connection.
- Clean the welding implements if necessary.
Socket welding of POLYMELT PP-R & PP-RCT plastic pipes and fittings with a hand welder (from 40 mm)
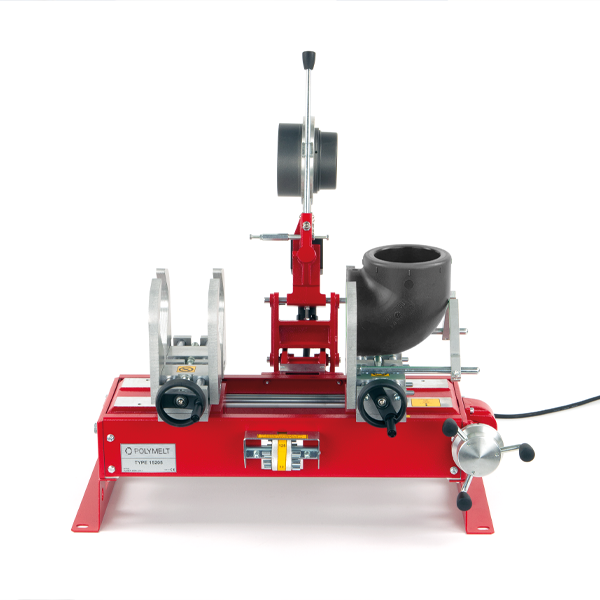
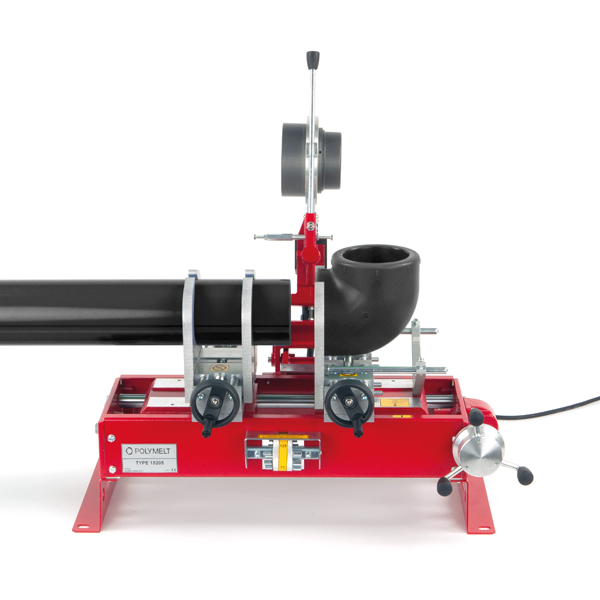
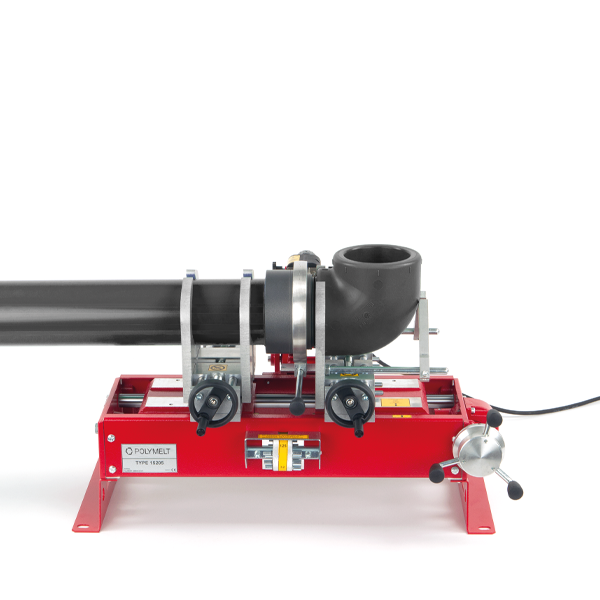
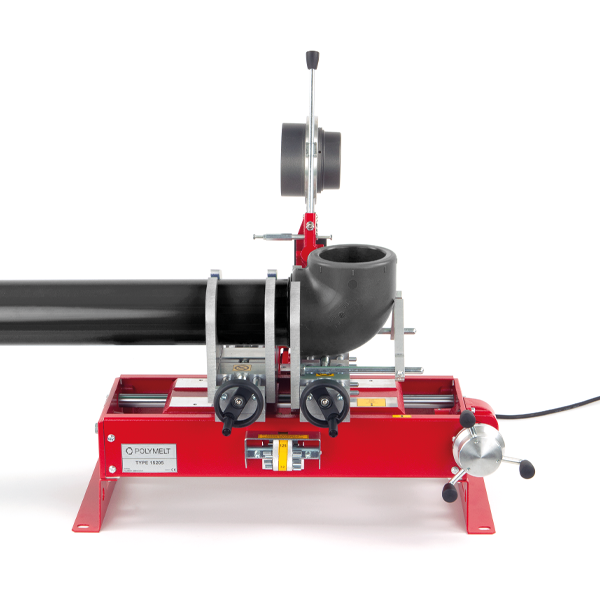
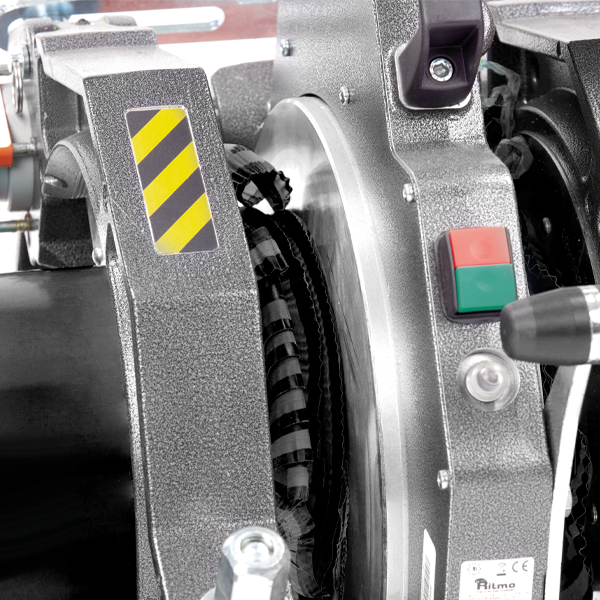
- Machine Inspection: Verify the welding depth by adjusting the dimension on the device and confirming the attainment of the welding temperature.
- Secure the molded part with the clamp, ensuring it is not overly tightened to prevent ovality, which can adversely affect the weld seam. Position the molded part accurately and employ counter-tensioning to mitigate potential slippage.
- Loosely insert the pipe into the jaw chuck.
- Adjust the dimension using the rotary knob to achieve precise welding depth.
- Bring both tools together until fully engaged.
- Advance the pipe towards the fitting, then secure it in place. Verify precise alignment of welding partners. Proceed to open the welding tool.
- Introduce the welding tool and gradually feed the fitting and pipe into the device using the crank handle until fully inserted. Monitor the welding time closely.
- Welding commences upon tight joining of the pipe and fitting. Allow them to heat without additional pressure. Upon completion of the heating period, separate the tools, remove the welding device, and connect the fitting and pipe.
- Adhere to the specified cooling time.
Connecting a Weld-in saddle into POLYMELT PP-R & PP-RCT plastic pipes
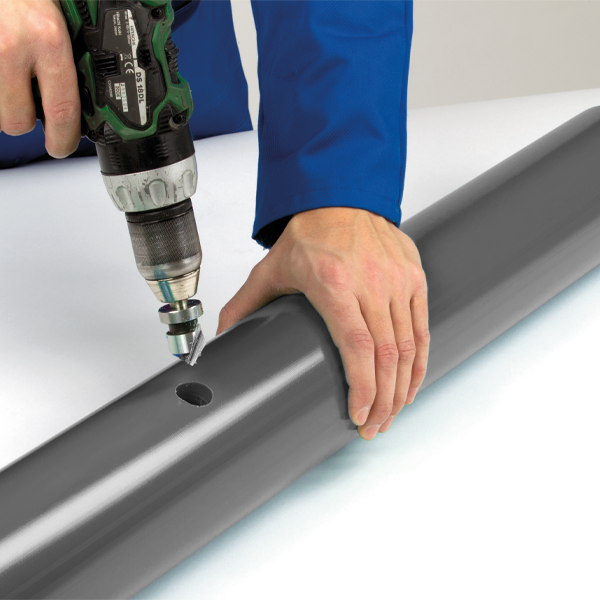


- Prepare the material and tools before starting work. Ensure that the welding saddle, the drill, and the welding tool have the same diameter.
- Expose the pipe exactly where the welding saddle is to be welded and mark the welding area. Empty existing pipes and release the pressure.
- Prepare the welding machine and the saddle welding tools and heat them up to operating temperature (250-270°C).
- Drill through the marked pipe wall with the POLYMELT hole saw and clear the drill hole of swarf.
- The parts and areas to be welded must be clean and dry.
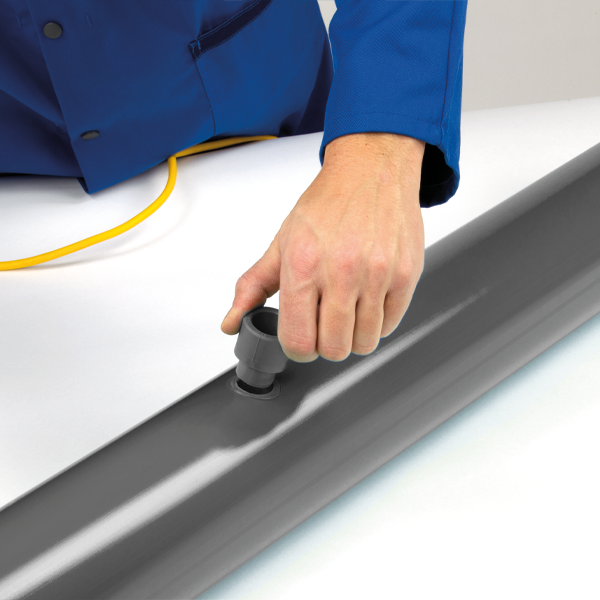
- Insert the welding tool with a suitable and aligned saddle tool into the hole in the pipe wall until the tool reaches the stop position. Simultaneously, push the welding saddle in until its surface reaches the curvature of the tool.
- The heating time for the pipe and saddle depends on the bead formation but is at least 25 seconds.
- Once a welding bead has formed on both parts to be joined, remove the welding device and push the heated welding saddle straight into the heated bore as far as it will go without turning it.
- After a cooling time of at least 10 minutes, the joint is fully loadable.
Butt welding of POLYMELT PP-R & PP-RCT plastic pipes and fittings from 160 mm
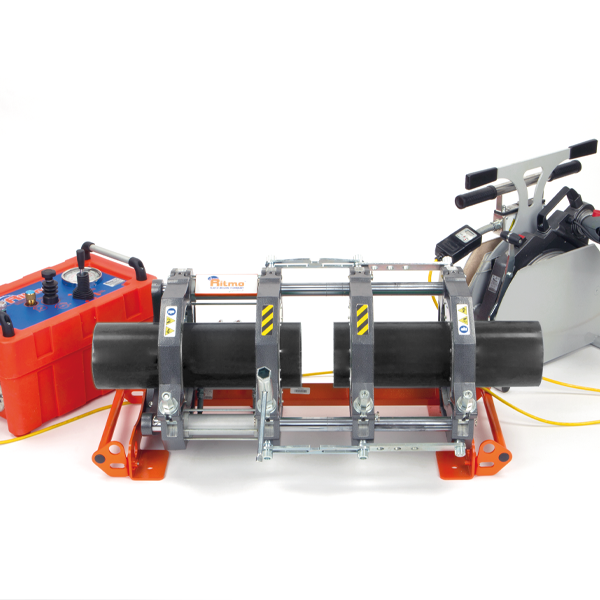

- Protect the workplace from the effects of weather and dirt.
- Ensure the welding machine is heated up and functioning properly.
- Cut the pipes at right angles to the required length.
- Align the pipes and securely tighten the clamping elements.
- Evenly and uniformly plane/straighten the front of the pipes using a milling cutter.
- Remove chips and clean the front side with ethyl alcohol.
- Maintain pipe offset within specified limits (max. 0.1 × wall thickness).
- Join the pipes and inspect for a flat joint (maximum tolerance 0.5 mm).
- Set the joining pressure according to the corresponding table in the operating instructions for the welding machine.
- Verify welding temperature (210°C).
- Ensure the heating element is clean before each work step.
- Initiate the welding process by swiveling in the heating element and applying joining pressure to the pipes.
- Once the bead height is reached, reduce the pressure, marking the start of the heating time, which brings the pipe ends to the desired welding temperature.
- After the heating time has elapsed, promptly remove the heating element and bring the pipes together with the required pressure.
- Allow the welded pipes to cool down under pressure.
- The welded joint may only be loosened or removed from the clamps after the prescribed cooling time has elapsed.

Would you like to find out more about our pipe systems for drinking water & sanitary installations or pipes for HVAC & industry?